Greymoor is an area in Hollow Knight: Silksong that needs to be visited during Act 1, while Hornet’s on her quest to reach the Citadel. The catch is that it’s hidden behind a not-so-obvious requirement, making it the first region you probably won’t stumble upon just by exploring.
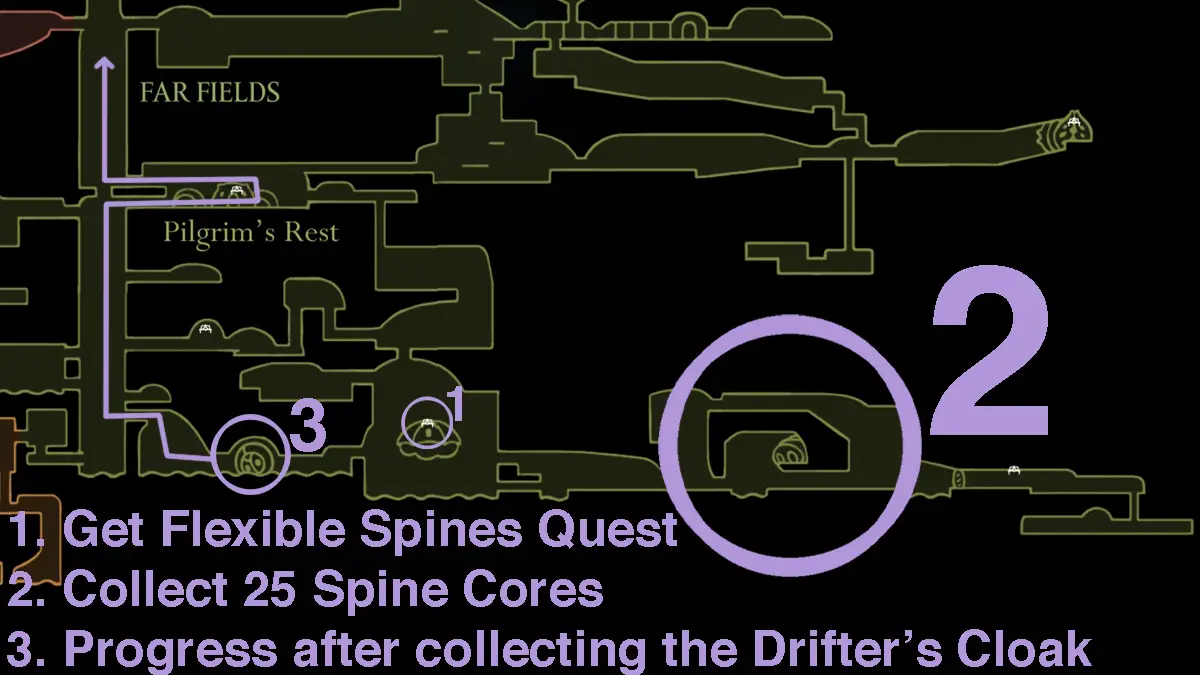
So, where’s Greymoor? Right above Far Fields. But how to leave Far Fields? That’s the slightly confusing part.
How to get out of Far Fields
The issue with Far Fields is that this area requires something that was completely optional until now: completing a quest—or a “wish,” to use Silksong’s jargon.
Get the Flexible Spines quest from the Seamstress
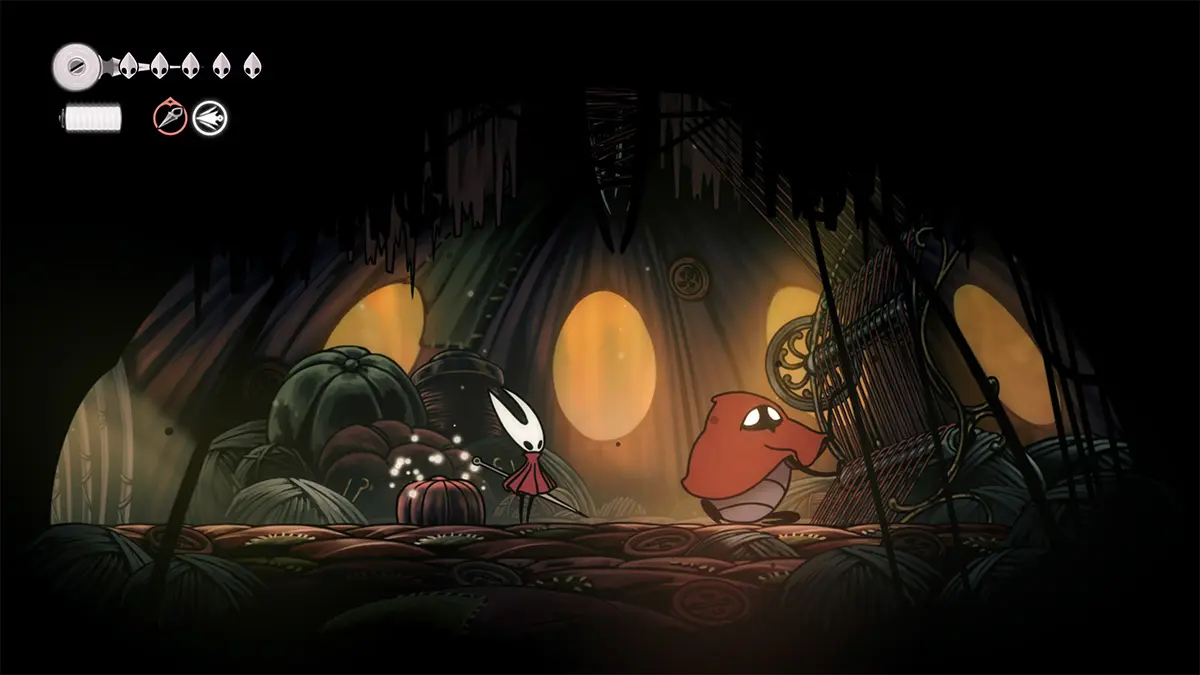
The quest standing in the way of Greymoor is called Flexible Spines, and it’s given by the Seamstress in the massive area in the middle of the Far Fields’ bottom level. The Seamstress can be found atop a balloon, located right next to a bench.

Following a brief exchange, the Seamstress will tell Hornet to bring 25 Spine Cores, promising she’ll use them to make a little something to help her leave Far Fields. The protagonist then needs to farm Hokers, those weird floating enemies that look like balloons with spikes coming out of them.
Farm Hokers for 25 Spine Cores
Hokers can be found in the tunnels to the right of the area where the Seamstress is located. A few are also chilling immediately below her balloon, though they alone won’t be enough to get to 25 Spine Cores.
An important thing to keep in mind is that the “cores” are actually the spikes coming out of the Hokers. What’s more, they need to be collected manually: attack a Hoker to have it shoot out cores, then get to the cores/spikes and attack them to do the collecting.
Many of these enemies are placed in awkward positions that result in them shooting the spikes in tricky-to-reach locations. What’s more, the cores disappear after a few seconds.
Don’t stress about any of that, as resting at the bench will reset all enemies. Even that’s not needed, as there are enough Hokers to get all 25 cores in a single run, even if you only net two or three per kill.
Return to the Seamstress and obtain the Drifter’s Cloak
With all 25 Spine Cores collected, it’s time to return to the Seamstress and obtain the Drifter’s Cloak.
Your new dress will let you float in the air by pressing and holding the jump button after you’ve left the ground. More importantly, you can use it to ride air drafts, which is your ticket out of Far Fields.

From here, head back the way you came using the tunnel in the bottom-left corner of the area where the Seamstress’s balloon is. That’ll trigger a fight with the Fourth Chorus.
Beat the Fourth Chorus
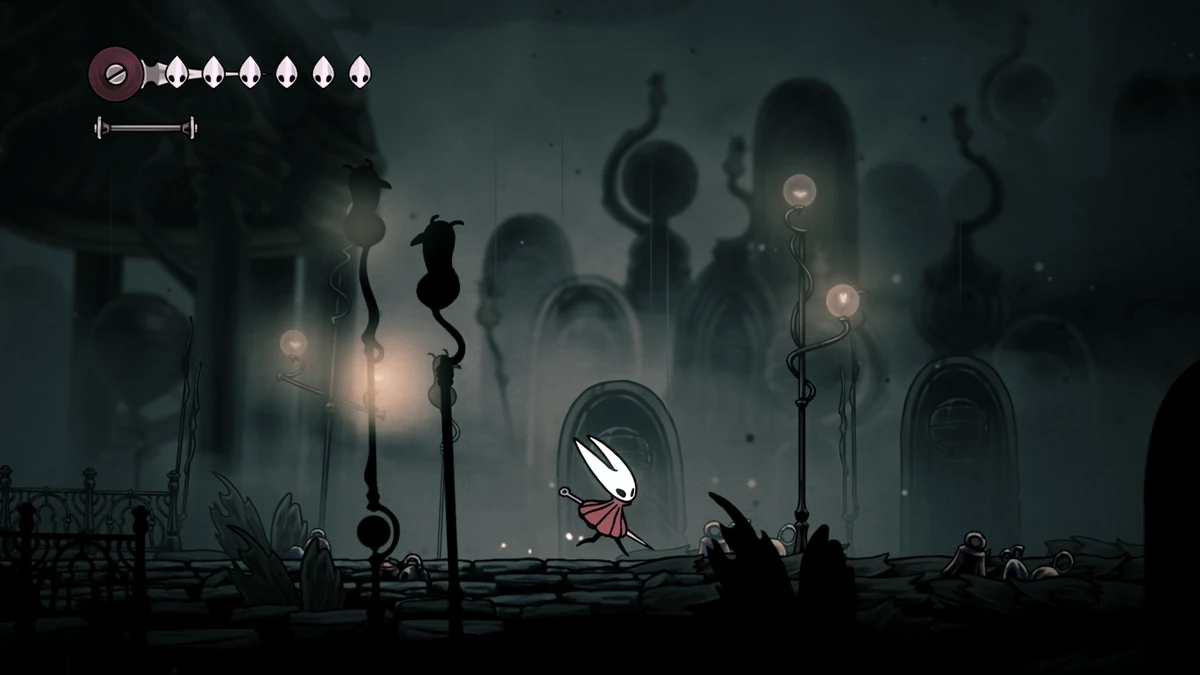
The Fourth Chorus looks a lot scarier than it really is. The fight’s basically a test of how comfortable you are with your new drifting ability—though you don’t even need it to win.
This boss has two basic attacks: the swipe and the slam. You can jump over the swipe, but if you do it too soon, simply press and hold the jump button again to float, avoiding punishment.
For the slam, stay away from it because it will take out some platforms. Again, if you don’t react in time, jump and float until you see what platforms remain, giving you enough time to try floating to safety.
The platforms regenerate over time, so don’t stress if you find yourself stuck on a tiny rock—just hang tight. Every so often, air drafts will pop up, letting you gain more height with the Drifter’s Cloak.
Height matters, because actually beating the Fourth Chorus means smacking its head—like, a lot. Luckily, it’s short enough that you can reach it with a regular jump, no need to wait around for air drafts.
At the halfway point, its slam attack starts producing falling magma boulders, so you’ll have one more thing to dodge.
If you need to heal, do it while airborne. The Fourth Chorus is a little too fond of its swipe attack, making healing on the ground way too risky.
Proceed to Greymoor by riding air drafts
With the boss down, proceed to the area to the left and gradually ride the air drafts all the way to Greymoor, stopping at the aptly named Pilgrim’s Rest along the way.
Congrats, you’re out of Far Fields! However, be prepared for a difficulty spike in the next area: Greymoor is no joke.

